Exercise 1 The Structure of the Human Body
I researched the internet to find various images of the different structures of the body and found loads of material. I also found many on-line tutorials for drawing different parts of the body.
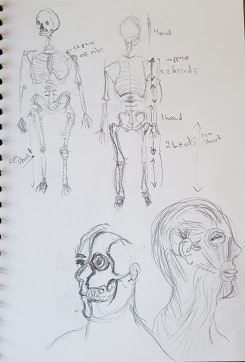
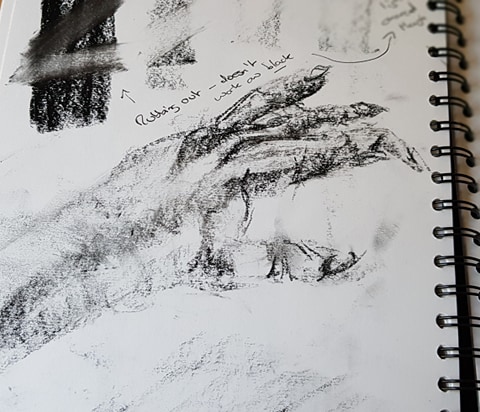
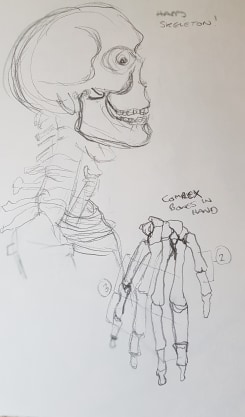
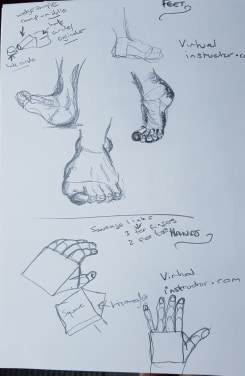
Below are sketches I made in my sketchbook with pencil, charcoal pencil and charcoal sticks.


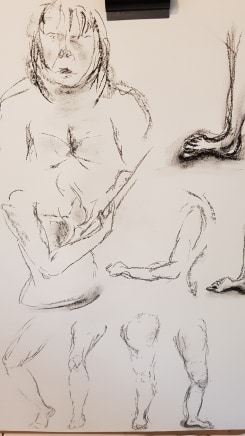
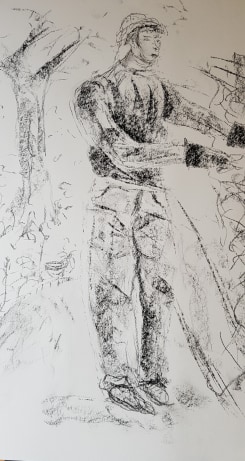
Below are charcoal sketches of my own body, on larger sheets , 59cm x 42 cm, white paper
Drawing the structures of the body is a real challenge. This is because, as humans, we are expert at looking at the human body, errors in proportion and shape easily make a drawing comical or unbelievable. I can understand why artists have spent so much time in history trying to perfect the art of representing the human form – it is so complex! Anatomy is definitely a whole branch of drawing studies in its own right. Years could be spent on improving skills in this area – as Leonardo di Vinci realised! But with these skills behind an artist, it makes creating images with people in them so more effective – if a realistic image is what is sort after.
I found on-line tutorials very useful. The tips for drawing very specific parts of the body were helpful indeed.
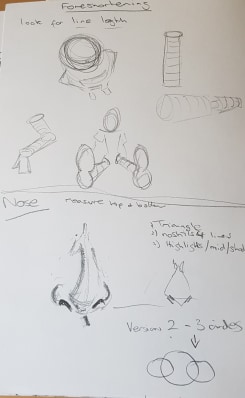
For example – to draw a hand; one tutorial advised to draw a square with a triangle on one side. Fingers are a string of 3 sausages, thumbs a string of 2 sausages.
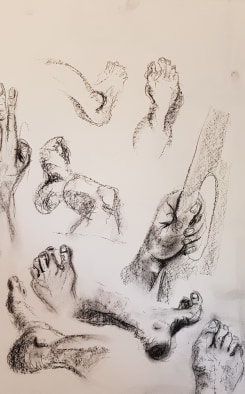
Another on-line tutorial advised that for feet – draw a 3-D wedge – draw a semi-circle at the front and at the back edge of the wedge.
See below – these tips were fairly effective I thought. In the life drawing classes I had attended; feet, hands and faces were particularly difficult to re-create for many of the group.
The conclusion of this exercise is that drawing form needs constant practice.
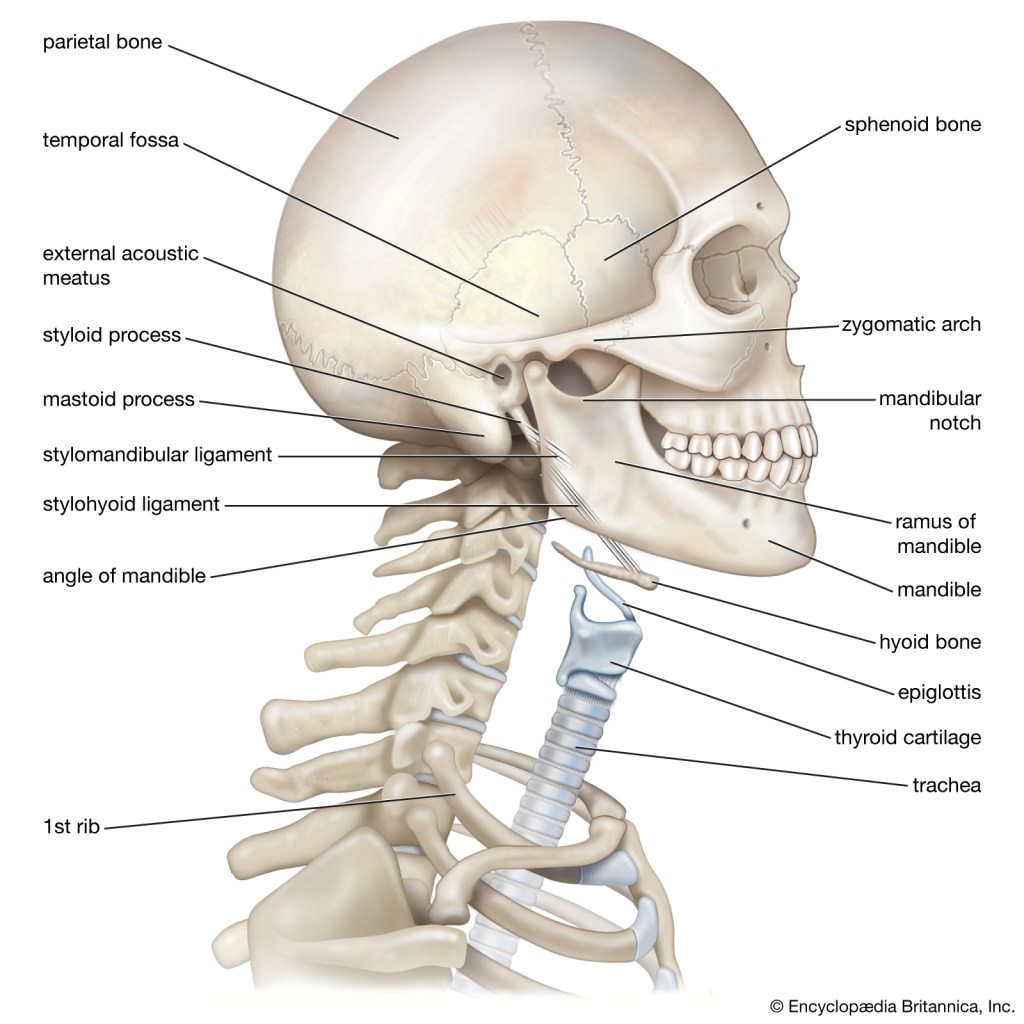
The detailed drawings of skeletons were very difficult indeed. My images were disappointing and childlike, even by copying – but, I could see the proportions were wrong.
I printed off a very useful chart of body proportions to try and help.

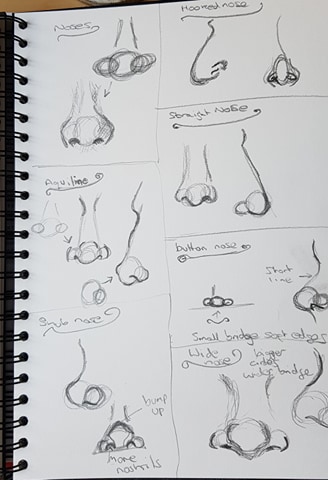
I also followed an on line tutorial for noses. It advised to draw 3 intersecting circles and the proportions and placement of the circles formed the basis of the nose types – see the images in the sketchbook studies near the top of this page.
Exercise 2 Three Figure Drawings
This did not go well for me at all. As the UK was in lockdown (and still is at the time of writing this) when I did this part of the course, I no longer had the professional life models available to me (see my blog entry on High Wych Life Drawing Class). I tried to draw my husband, but I found it hard for all sorts of reasons. The stances aren’t posed, so are rather uninteresting. As they are clothed, the definition of the body isn’t there to see. I didn’t compose the pieces well. As lighting wasn’t definite, like it would be in the classroom, I lost the ability to find tone properly. The proportions are all wrong. My skills weren’t up to the challenge! Also, it was awkward asking poor husband to do something he wasn’t keen to do for a couple of hours. I felt very disappointed and deflated by the results. Given time, I would like to try this section again. I would possibly use on-line, posed, images
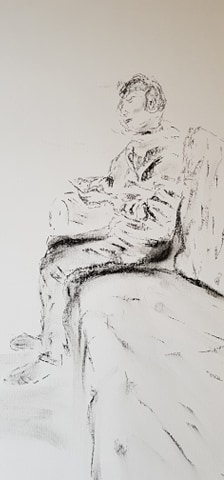
The image above (sitting) is possibly the most successful of the three. The proportions are probably the closest to what they should be. In the other two images, the heads are way too small. The tonality and foreshortening of the above image are a bit more on track. I quite like the tilt of the head (permanently looking at the phone!). The slightly more pleasing image of the three – but a long way from inspired.
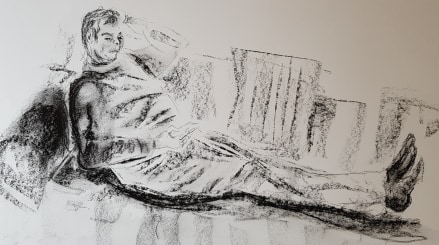
Another seated figure image is below. I quite like the tonality of this version, Its not too overworked but the figure is rather 2-D.
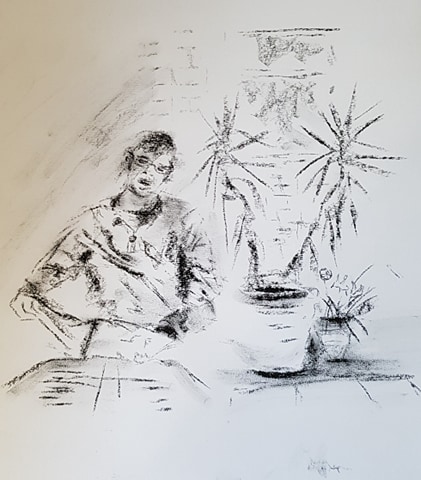
The above four images are all charcoal on white paper, 42cm x 59cm
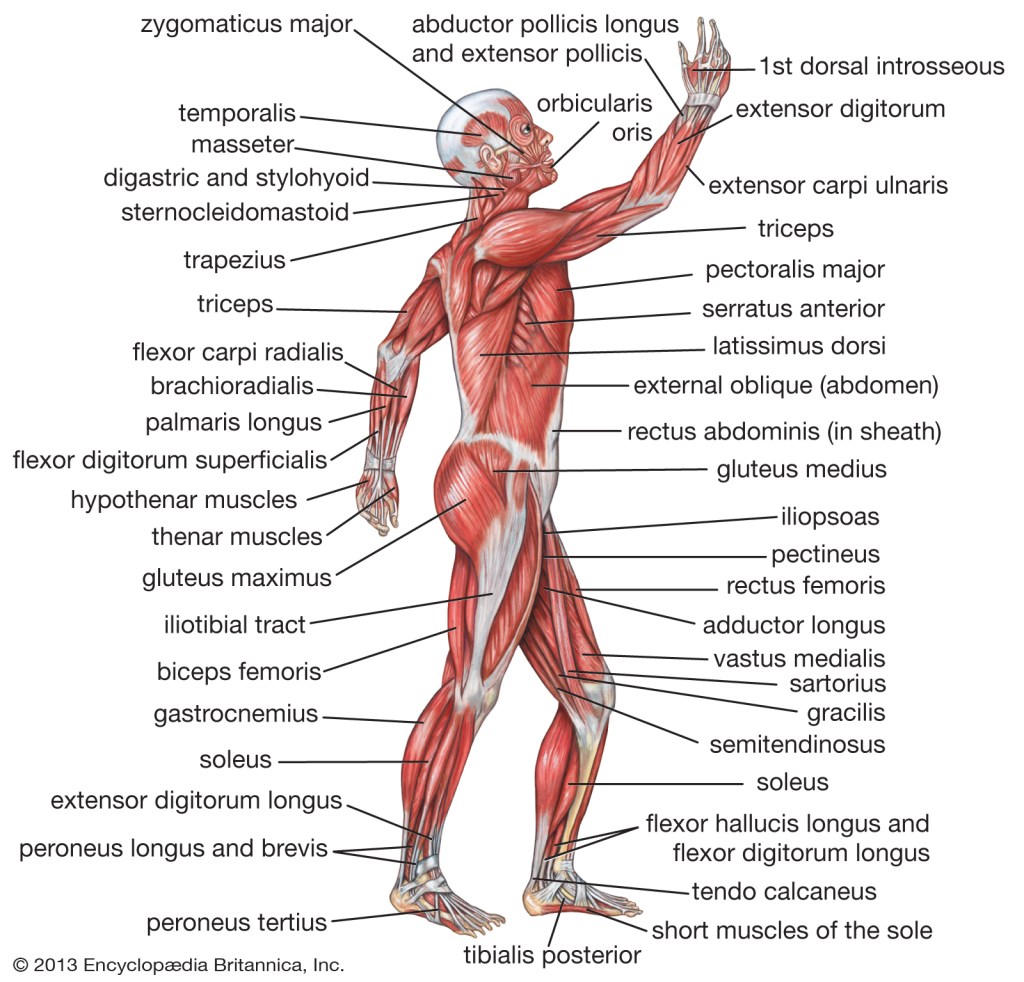
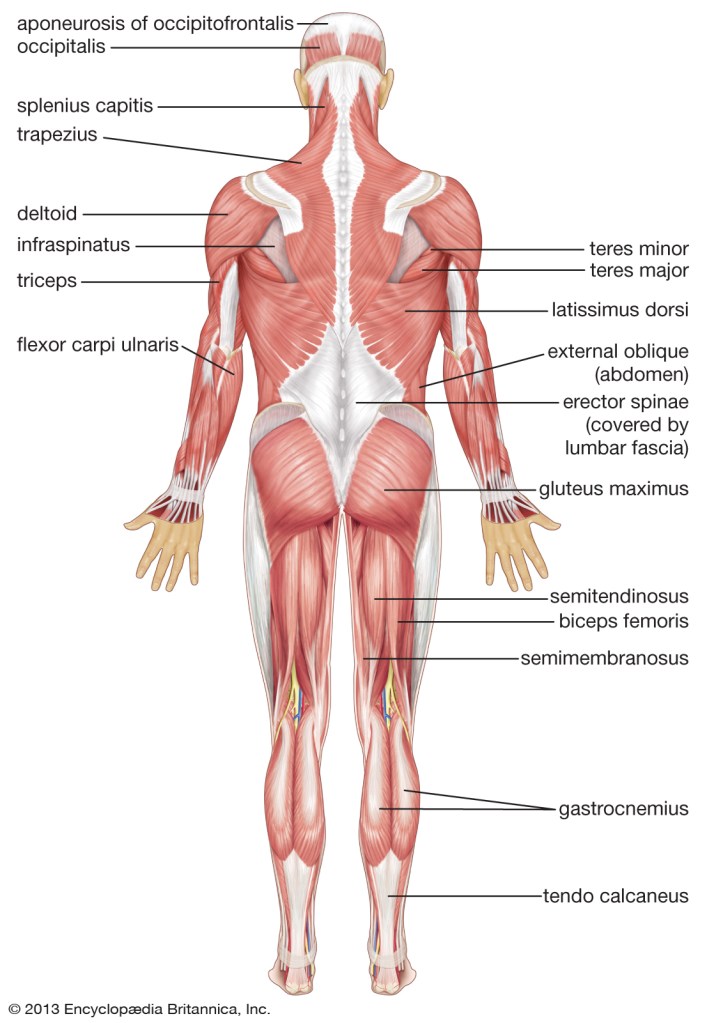
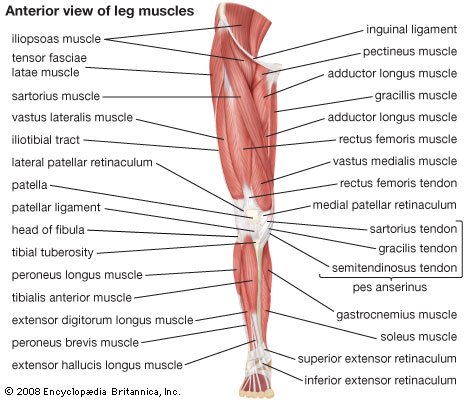
Below are some images from the internet that will be useful for future drawing projects: